Created by OrgPad Info
Everything you can do with OrgPad explained.
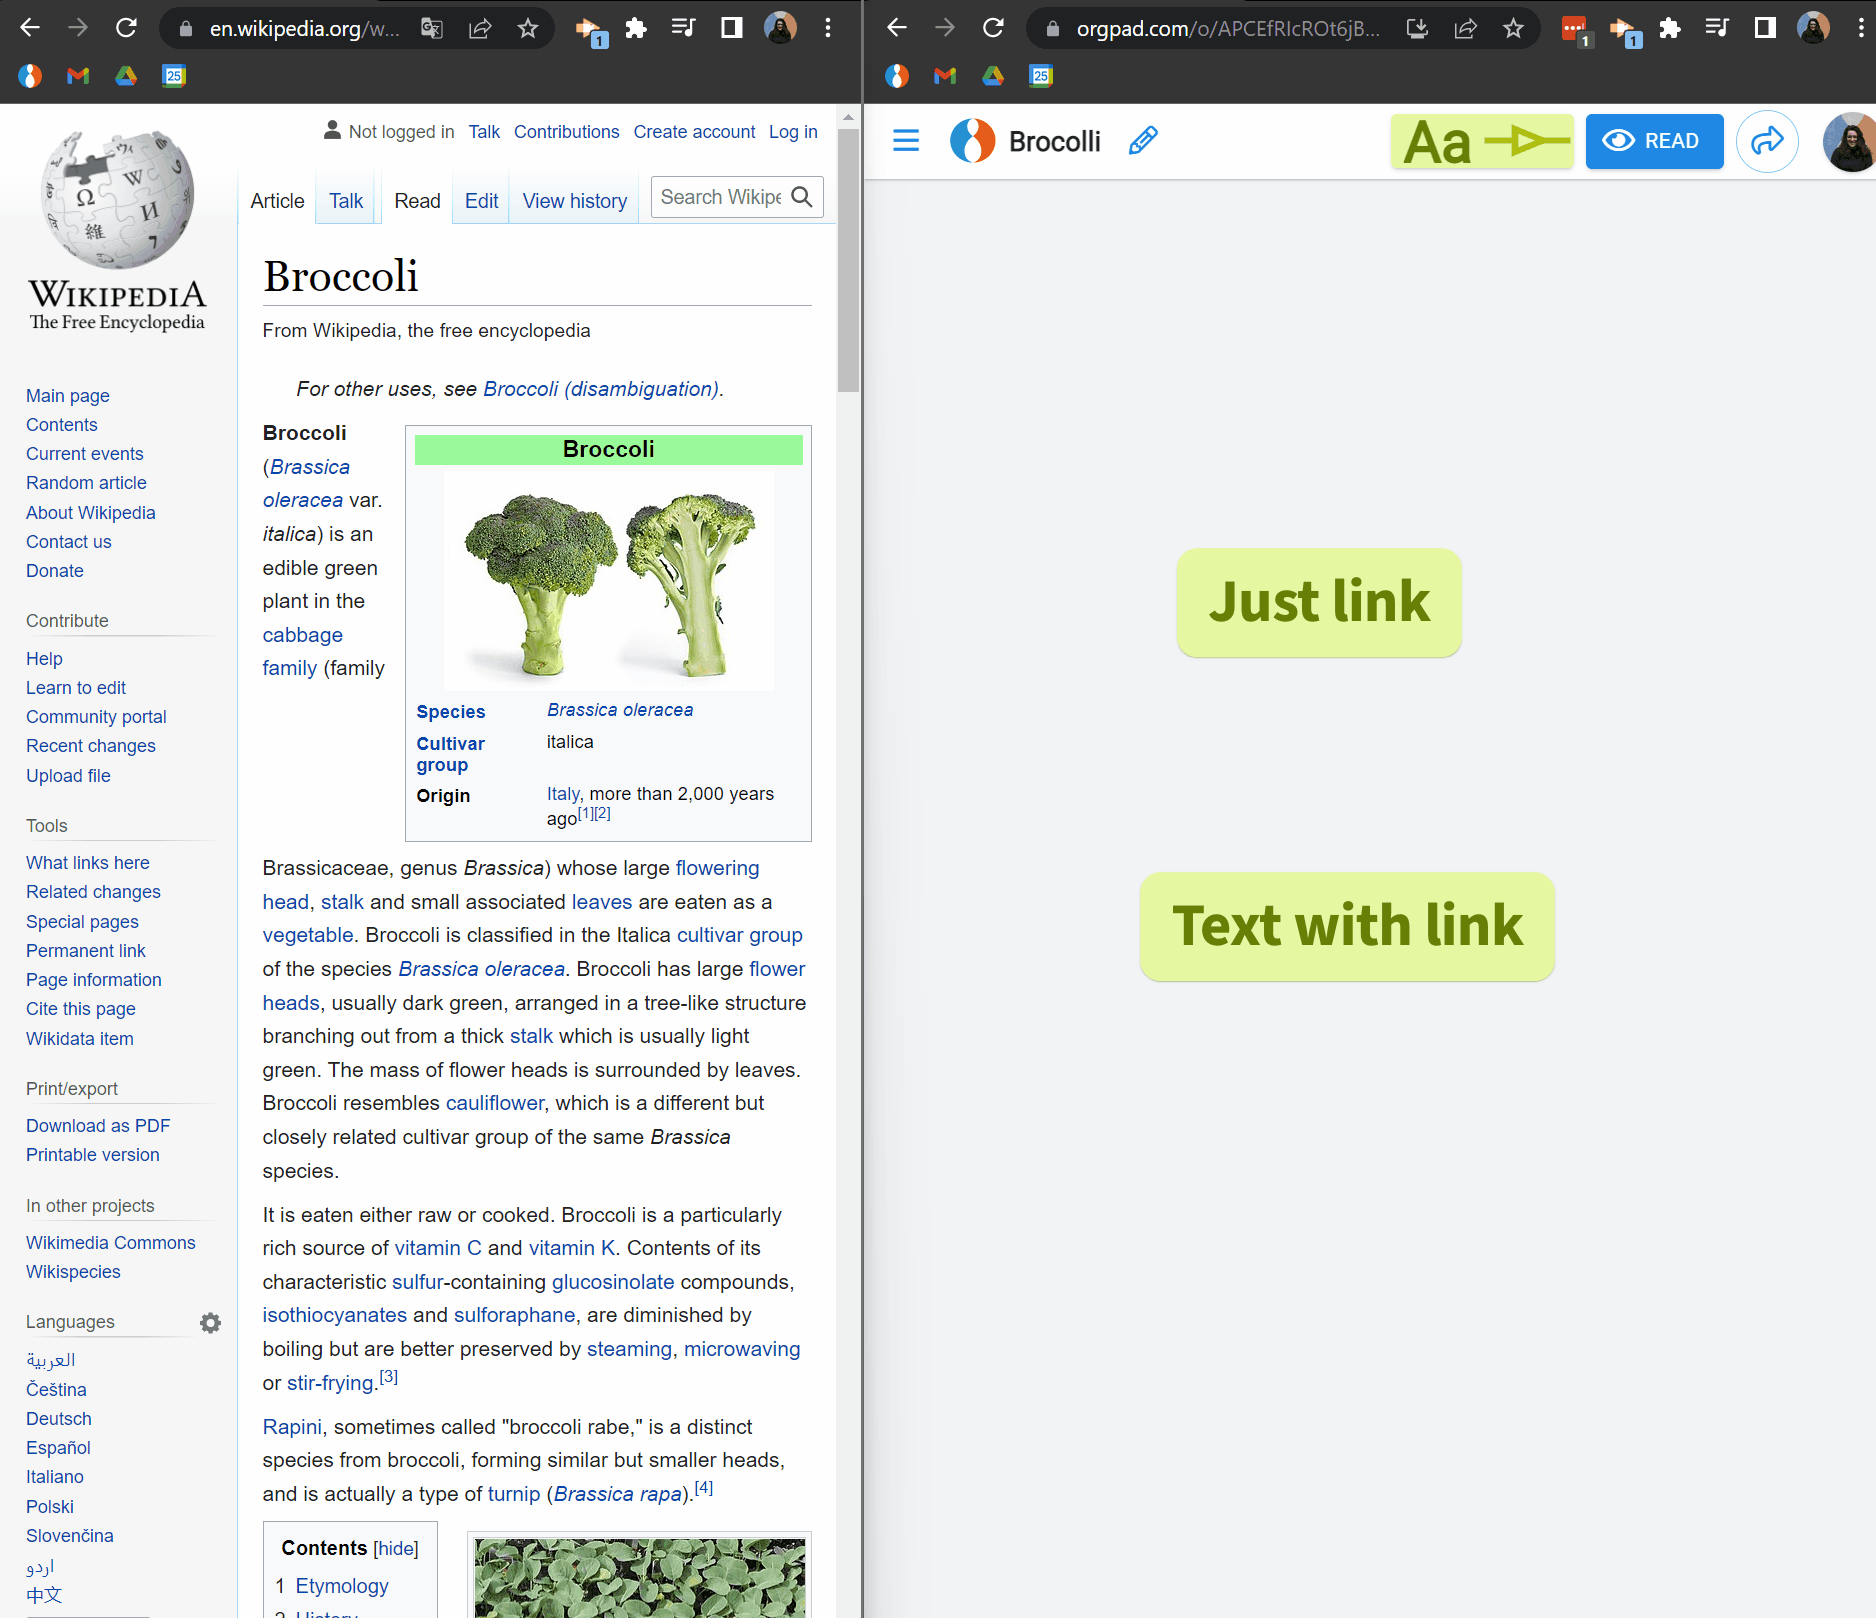
Images and files can be easily inserted from the Internet or your computer directory.
It can be from YouTube or even a .mp4 file from your computer.
Tip: Private YouTube videos work here too. Plus, there are no ads in embedded videos 🤩.
Insert by dragging OrgPage from the main page
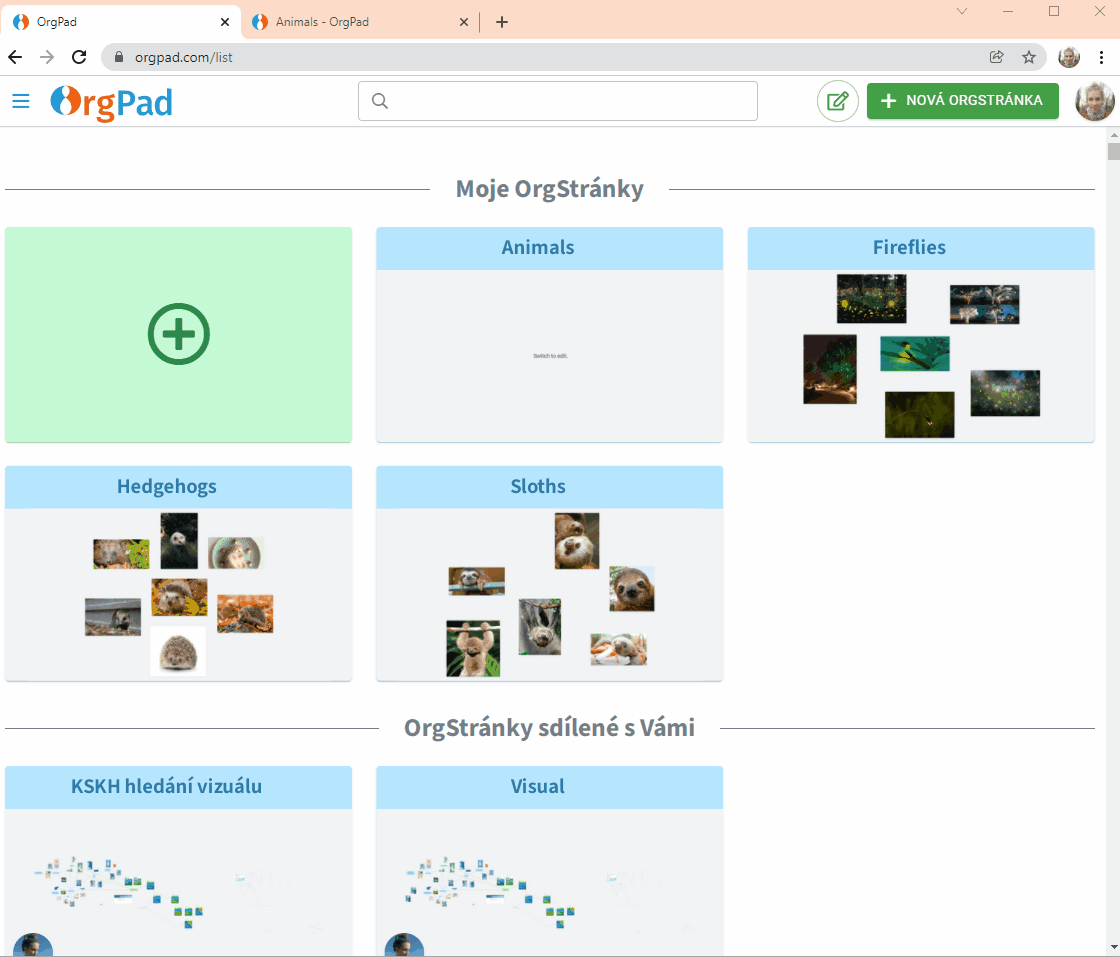
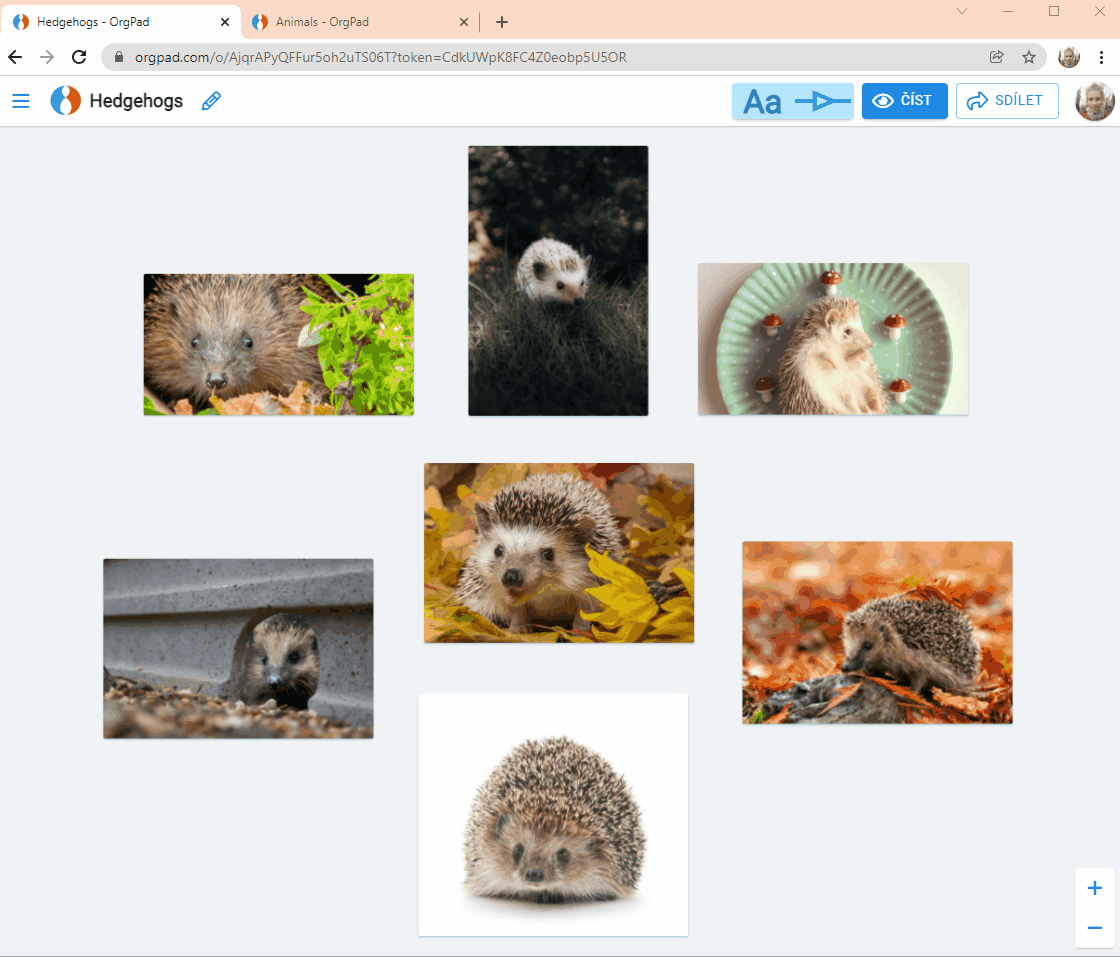
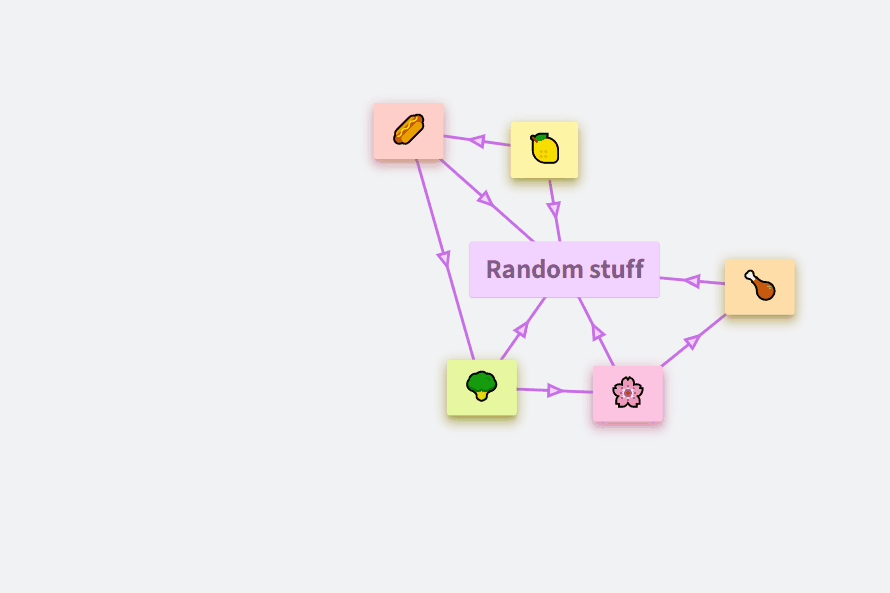
Example: you want to insert the OrgPage “Fireflies” into the OrgPage “Animals”.
A cell is created that has:
Insert by dragging a title from an open OrgPage
You can export a document from the side panel in three formats:
To import, go to the document list > side panel. Supported formats:
Learn more in the blog post Export and Import of Documents in OrgPad.
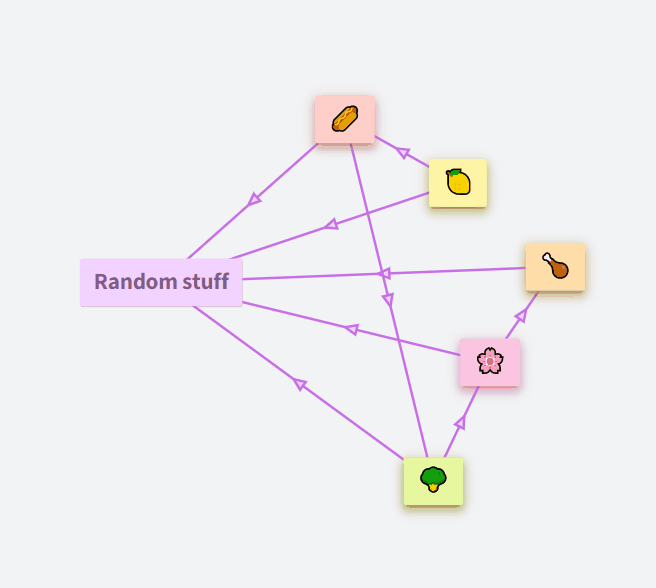
The cells and links will now appear on the target OrgPage and will be removed from the original OrgPage. Removal may take some time.
Tip! Use this method to move cells and links between the embedding OrgPage and the source OrgPage.
In the free and Standard plans, printing includes a watermark. To print without a watermark, upgrade to the Professional plan or use the plan for schools and enterprises.
You can only print documents that you have permission to edit. If you want to print a public document, you need to copy it first.
Printing is done to PDF. You can then either print your OrgPage on your printer or view it offline. At this moment, the entire OrgPage is printed in a collapsed state.
To access the print dialog, go to side panel >
Print to PDF.
Alternatively, use the keyboard shortcut:
In the dialog, you can choose:
Once you hit the Print to PDF button, there will be a brief wait as the printout is generated on our server. Upon completion, a message will provide you with a link to access your printout. Simply click the link, and it will open in a new tab.
You can find all your printotus in the side panel under
Files and images.
This keyboard shortcut lets you take screen clippings in Windows 10 and 11. After creating a clipping, the image is saved to the clipboard. Simply go to OrgPad, press Ctrl + V, and the image will appear. It has many uses.
To add code, click the green plus and choose Insert code.
double pi = 3.141592653589793;-- Find employees with above-average salary
SELECT name, salary
FROM employees
WHERE salary > (SELECT AVG(salary) FROM employees);
You can switch between inline and block using the button in the panel. Pressing Enter inside inline code turns it into a block automatically.
Learn more in the blog post Programming Language Highlighting in OrgPad.
To insert math or chemistry, click the green plus → Math/Chemistry
LaTeX syntax is used for math.
Learn more in the blog post Math and Chemistry Added to Editor.
Copy using Ctrl+C and Ctrl+V.
You can copy content across OrgPages.
To activate selection mode, click on the square icon. You can find it:
Locations are like steps in a presentation. You can find them in the side menu, where you can see a list of existing locations and create new ones.
You can find all about locations in the blog post Create and Share Locations Inside Your Document.

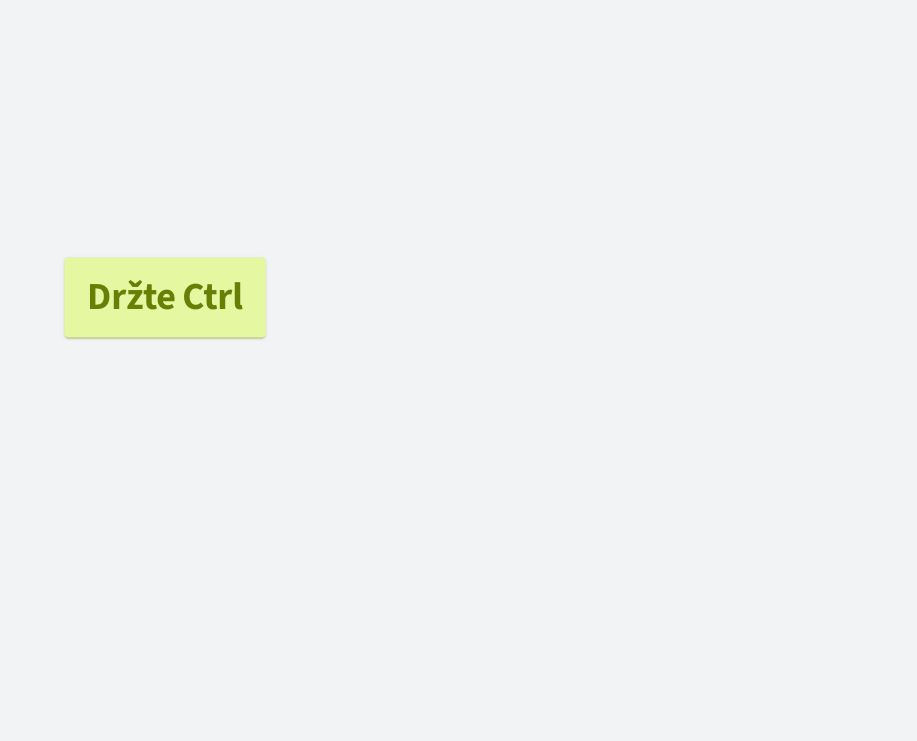
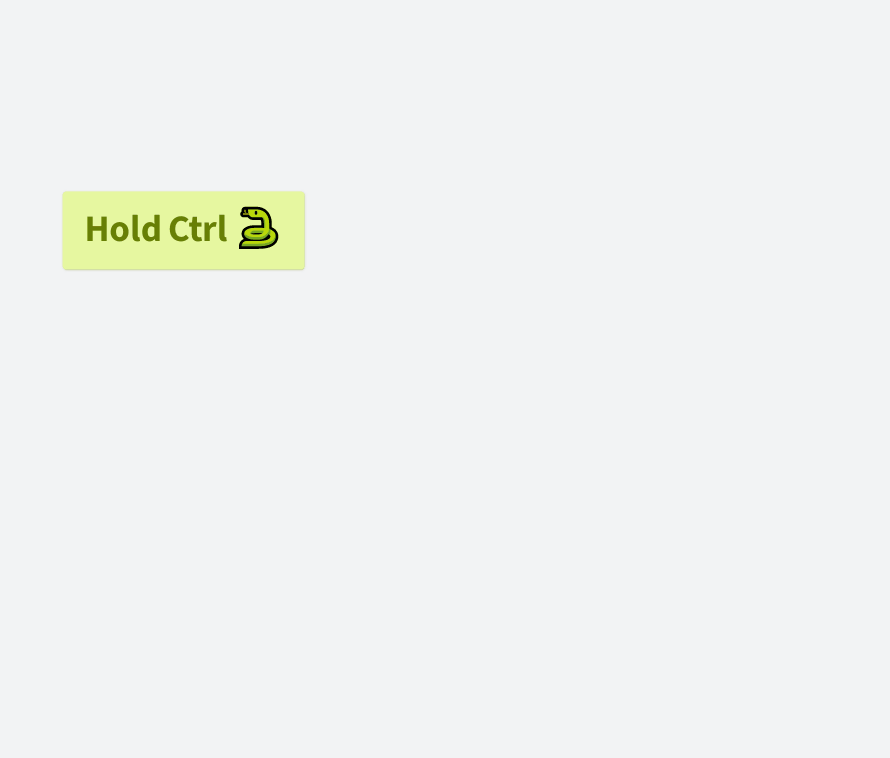
Hold Shift and click on the arrow.
Available only on devices with a keyboard and mouse/touchpad.
This feature allows you to organize your documents more easily and quickly than ever before.
Find all your presentations under side panel > Presentations.
If you haven’t created any yet, you’ll see just the ➕ Create Presentation button. Click it to star a new one.
| Shortcut | Action |
| F6 | Switch to view mode |
| F7 | Switch to edit mode |
| Ctrl + Z | Undo last delete |
| Ctrl + A | Select all units and links |
| Ctrl + E, Ctrl + Up | Expand selection by one level |
| Ctrl + Shift + E, Ctrl + Down | Collapse selection by one level |
| Ctrl + F | Open search |
| Ctrl + P | |
| Ctrl + , | Toggle comment for a cell |
| Shortcut | Action |
| Tab or Enter | Insert a new step below or create location |
| Shift + Tab or Shift + Enter | Insert a new step or create location with the same camera |
| Home | Go to first step or location |
| End | Go to last step or location |
| Left, Up, or Page Up | Go to previous step or location |
| Right, Down, or Page Down | Go to next step or location |
| Shift + Left, Shift + Up, Shift + Page Up | Move presentation step up |
| Shift + Right, Shift + Down, Shift + Page Down | Move presentation step down |
| F2 or Q or ' | Set camera to selection |
| Shift + F2 or Shift + Q or Shift + ' | Add camera to selection |
| Alt + F2 or Alt + Q or Alt + ' | Remove camera from selection |
| F3 or W or , | Set visibility for selection |
| Shift + F3 or Shift + W or Shift + , | Add visibility for selection |
| Alt + F3 or Alt + W or Alt + , | Remove visibility from selection |
| Shortcut | Action |
| Enter | In title, switch to full editor. In full editor, adds a newline. |
| Tab | In title, switch to full editor. In full editor, create unordered list or indent it. |
| Shift + Tab | Outdent list |
| Esc | Close editor |
| Ctrl + Up | Move current block / list item up |
| Ctrl + Down | Move current block / list item down |
| Ctrl + Z | Undo |
| Ctrl + Shift + Z or Ctrl + Y | Redo |
| Ctrl + B | Bold |
| Ctrl + I | Italic |
| Ctrl + S | Subscript |
| Ctrl + Shift + S | Superscript |
| Ctrl + G | Heading |
| Ctrl + O | Ordered list; use TAB for unordered. |
| Ctrl + L | Center align |
| Ctrl + Shift + I | Insert image |
| Ctrl + Shift + F | Upload file or image |
| Ctrl + K | Focus or create hyperlink |
| Ctrl + M or Ctrl + U | Inline math |
| Ctrl + Shift + M or Ctrl + Shift + U | Block math |
| Ctrl + D | Inline code |
| Ctrl + Shift + D | Block code |
| F2, F3, F4 | Choose a top code language |
| Page Up | Go to the previous page |
| Page Down | Go to the next page |
| Ctrl + Page Up | Create a new page before the current page |
| Ctrl + Page Down | Create a new page after the current page |
Shift + Page Up or | Move the current page to the left |
| Shift + Page Down or Ctrl + Shift + Down | Move the current page to the right |
There are smiley face options in windows 10, but also in other systems.
You can also enter, e.g., “pizza emoji” into the search engine and then insert with Ctrl+C, Ctrl+V.
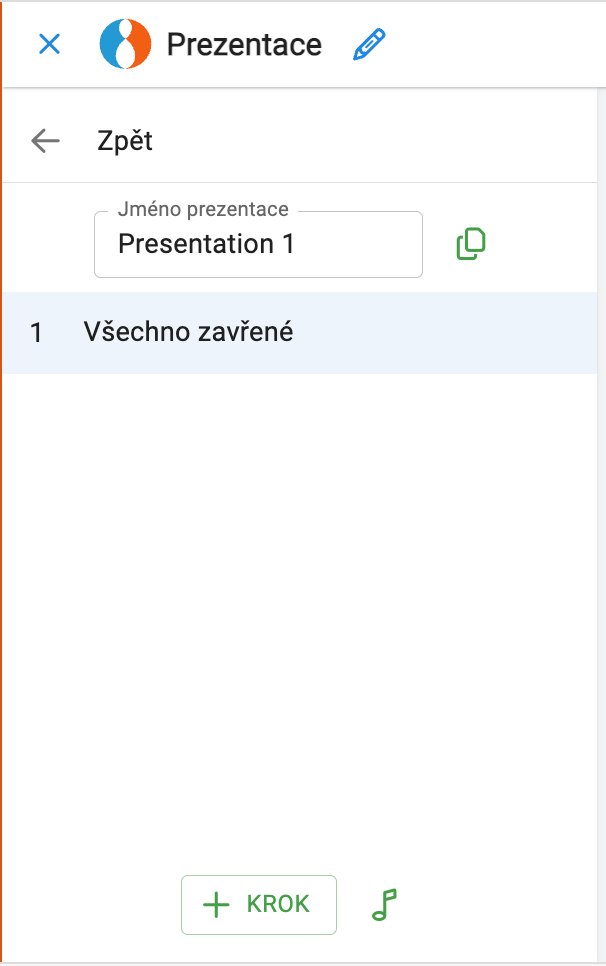
You can name a presentation or create a duplicate.
Below the name, you'll see a numbered list of its steps.
Click ➕ Step or press the TAB key to add a new step.
Hold SHIFT while creating step to copy the camera from the previous step.
So if I wanted to share this OrgPage with you so that all the cells would open, the link would look like this:
https://orgpad.com/s/eSXICDgczX4?open=all
Click cells you want to include. They’ll open, and the camera will adjust automatically.If a cell has only a heading, it stays as it is.
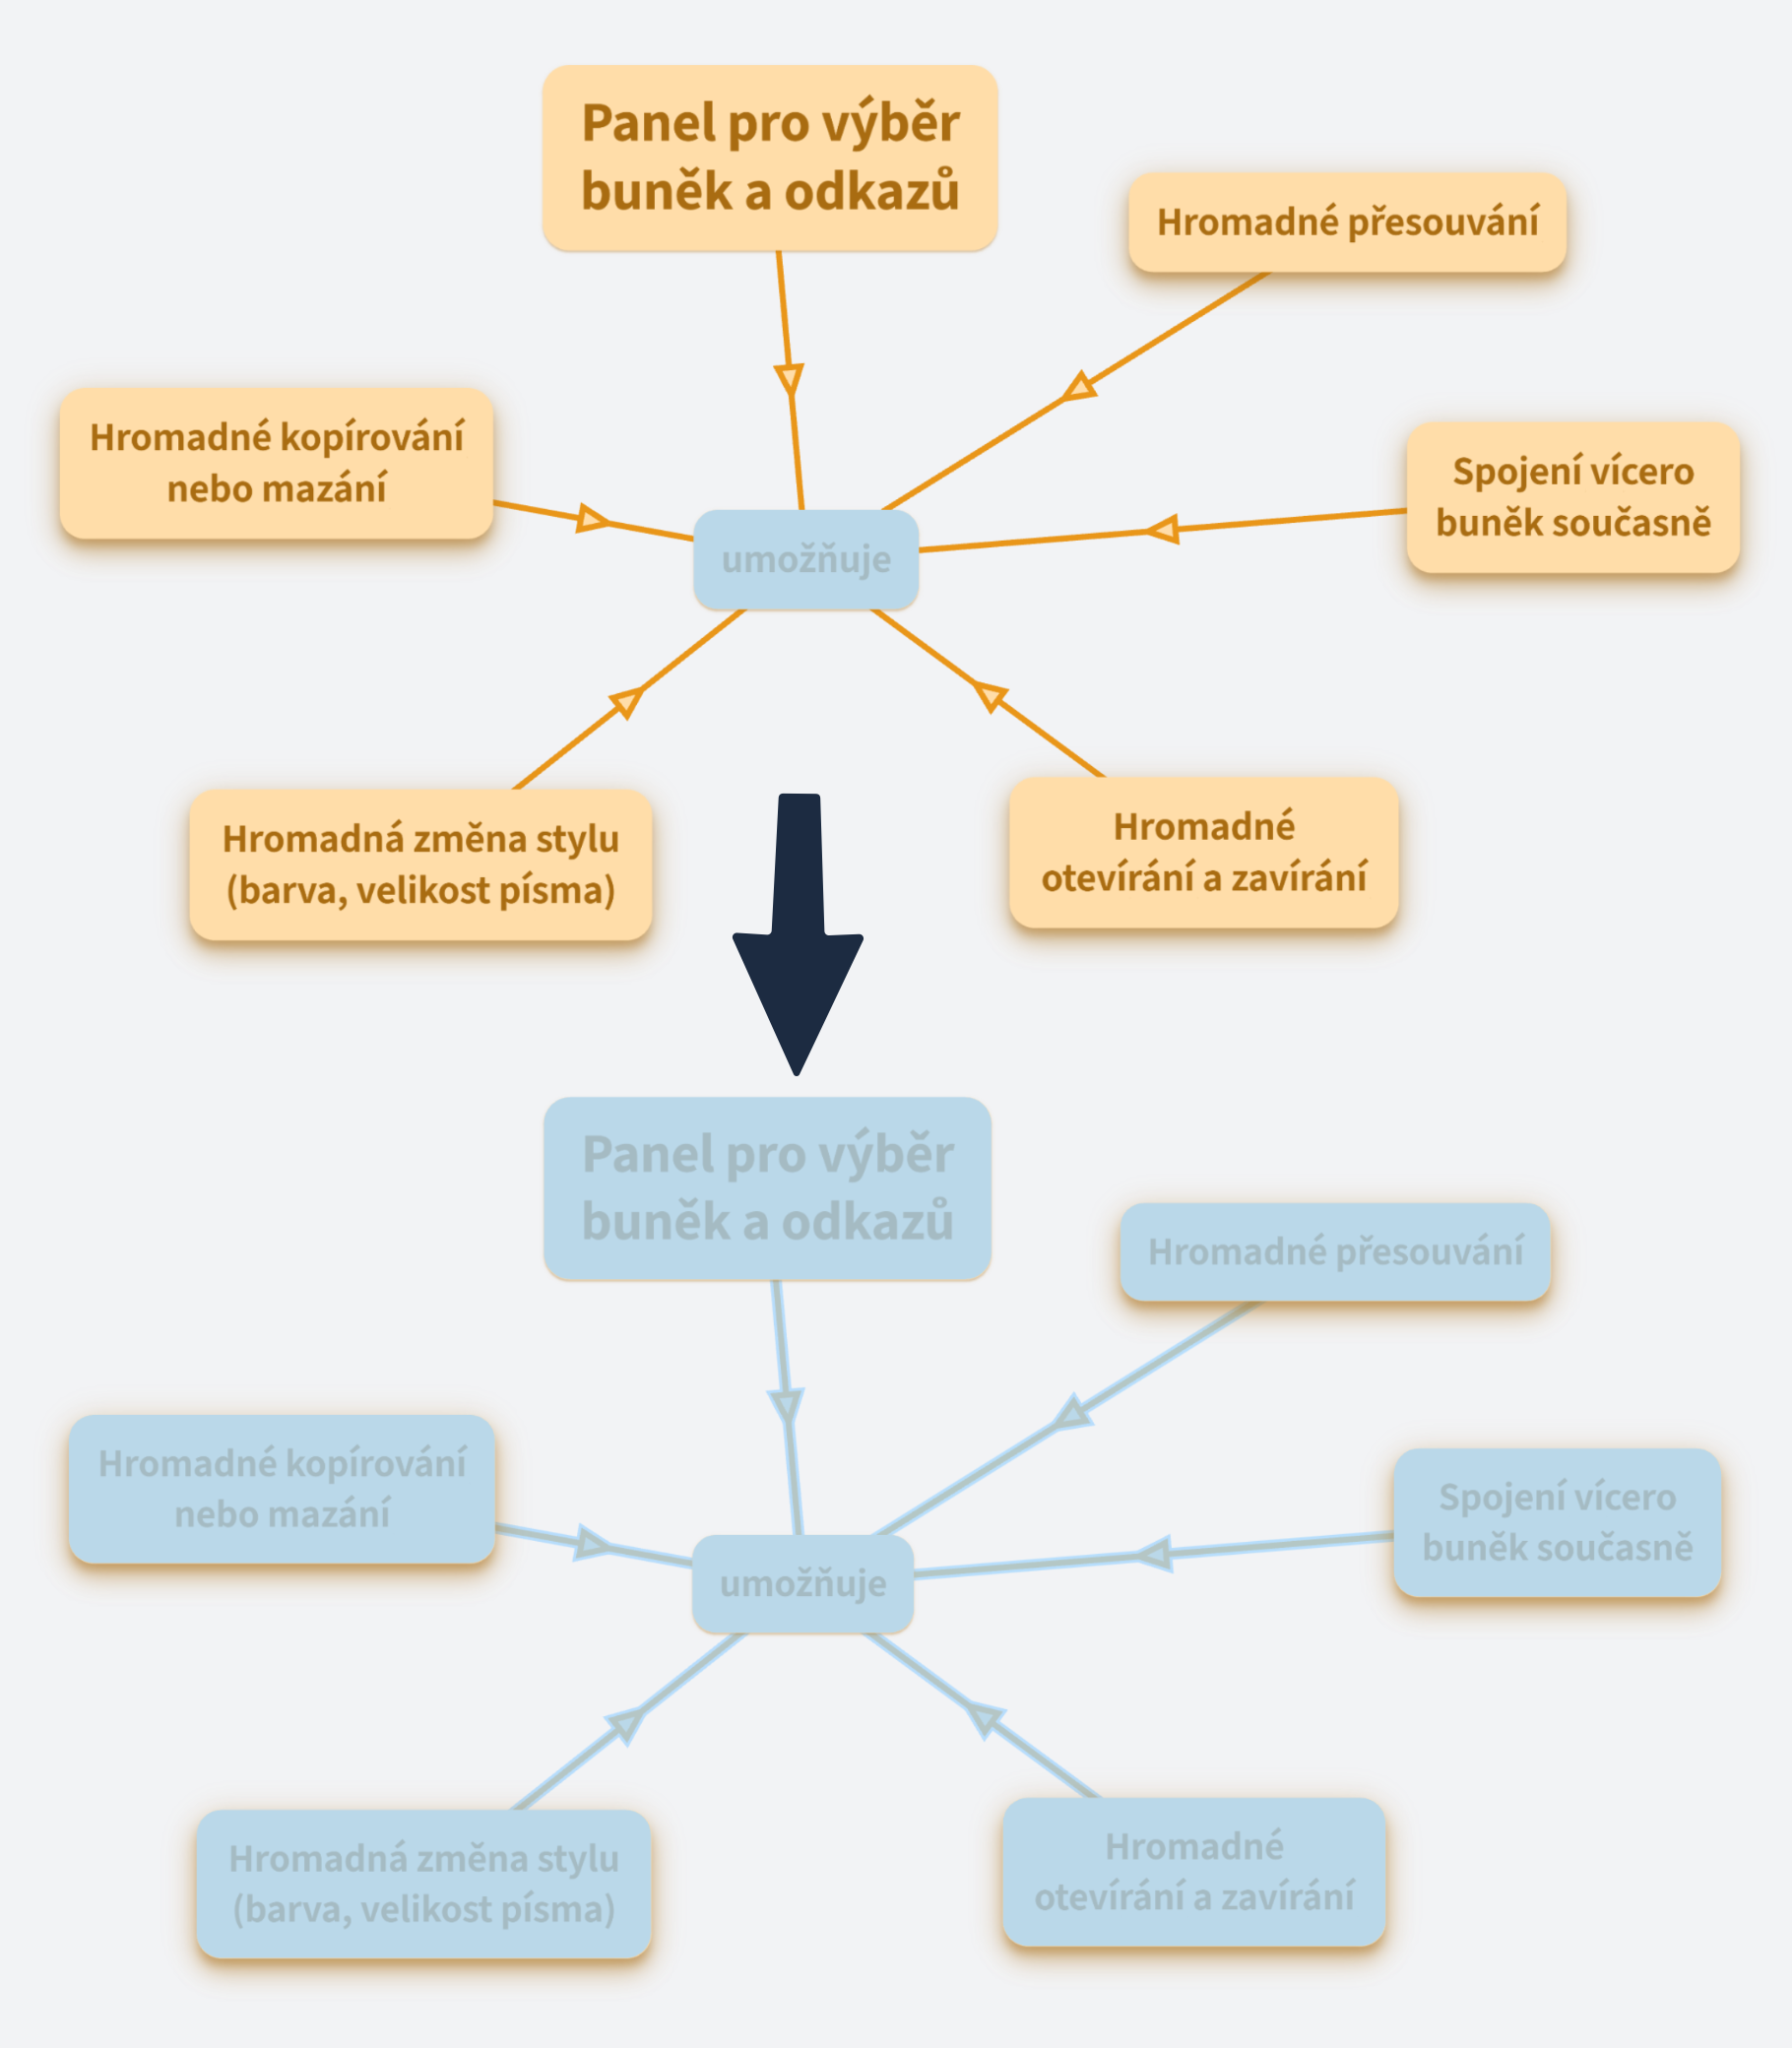
You can also use the cell selection to precisely control:
By default, all cells are collapsed.
The simplest way to open a cell is to click it.
To open or close multiple cells, select them and click the icon or
in the selection panel.
The camera is shown as a blue dashed rectangle. Everything inside it will be focused in the step.
To add cells to the camera:
All cells are visible by default. Hidden ones appear semi-transparent.
To change visibility: